패키지 업데이트
# yum update
# yum install wget
패키지 업데이트를 먼저한다
다운로드
# cd /usr/local/src
# wget https://yum.oracle.com/repo/OracleLinux/OL7/latest/x86_64/getPackage/oracle-database-preinstall-18c-1.0-1.el7.x86_64.rpm
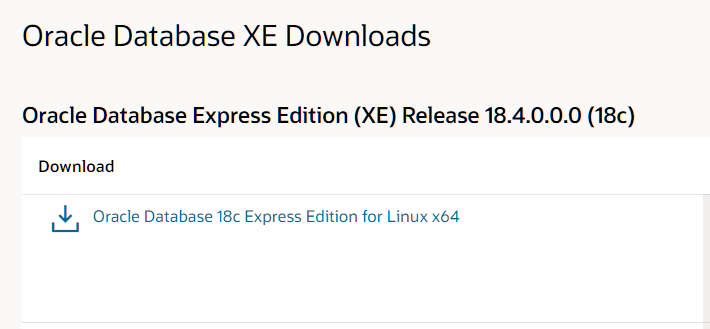
# wget https://download.oracle.com/otn-pub/otn_software/db-express/oracle-database-xe-18c-1.0-1.x86_64.rpm설치파일 다운로드는 아래 링크에서 한다.
https://www.oracle.com/database/technologies/xe-downloads.html
설치 진행
# yum -y localinstall oracle-database-preinstall-18c-1.0-1.el7.x86_64.rpm
# yum -y localinstall oracle-database-xe-18c-1.0-1.x86_64.rpm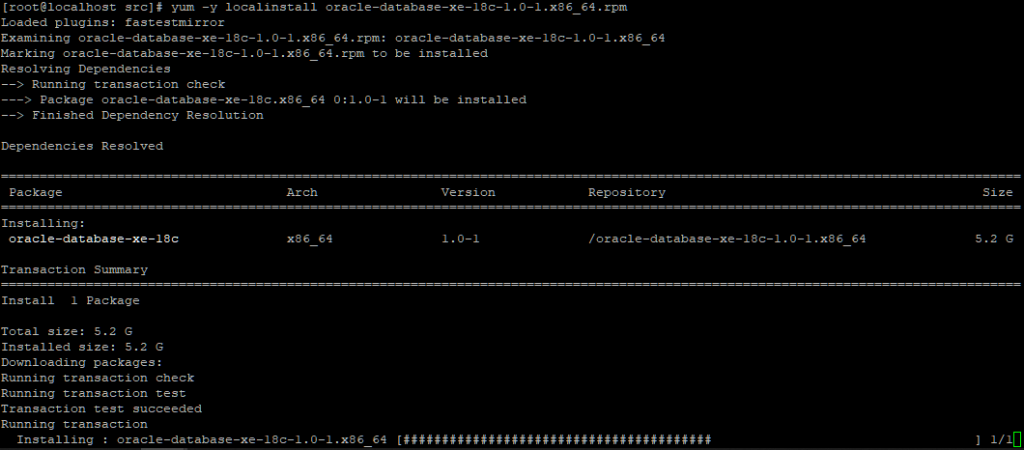
설치 사이즈가 커서 오래걸린다
초기설정
# /etc/init.d/oracle-xe-18c configure

Specify a password to be used for database accounts. Oracle recommends that the password entered should be at least 8 characters in length, contain at least 1 uppercase character, 1 lower case character and 1 digit [0-9]. Note that the same password will be used for SYS, SYSTEM and PDBADMIN accounts:
 Confirm the password:
 Configuring Oracle Listener.
 Listener configuration succeeded.
 Configuring Oracle Database XE.
 Enter SYS user password:
 Enter SYSTEM user password:

 Enter PDBADMIN User Password:

 Prepare for db operation
 7% complete
 Copying database files
 29% complete
 Creating and starting Oracle instance
 30% complete
 31% complete
 34% complete
 38% complete
 41% complete
 43% complete
 Completing Database Creation
 47% complete
 50% complete
 Creating Pluggable Databases
 54% complete
 71% complete
 Executing Post Configuration Actions
 93% complete
 Running Custom Scripts
 100% complete
 Database creation complete. For details check the logfiles at:
  /opt/oracle/cfgtoollogs/dbca/XE.
 Database Information:
 Global Database Name:XE
 System Identifier(SID):XE
 Look at the log file "/opt/oracle/cfgtoollogs/dbca/XE/XE1.log" for further details.
 Connect to Oracle Database using one of the connect strings:
      Pluggable database: localhost.localdomain/XEPDB1
      Multitenant container database: localhost.localdomain
 Use https://localhost:5500/em to access Oracle Enterprise Manager for Oracle Database XE
비밀번호는 최소 1개의 대문자와 소문자, 숫자를 조합해서 8자이상 입력해야 한다.
환경설정 추가
# vi ~/.bash_profile

export ORACLE_HOME=/opt/oracle/product/18c/dbhomeXE
export TNS_ADMIN=$ORACLE_HOME/network/admin
export ORACLE_SID=XE
export ORAENV_ASK=NO
export PATH=$PATH:$ORACLE_HOME/bin
.bash_profile 파일 하단에 환경설정을 추가
리스너 확인
# lsnrctl status

LSNRCTL for Linux: Version 18.0.0.0.0 - Production on 01-FEB-2021 11:02:03
 Copyright (c) 1991, 2018, Oracle.  All rights reserved.
 Connecting to (DESCRIPTION=(ADDRESS=(PROTOCOL=TCP)(HOST=localhost)(PORT=1521)))
 STATUS of the LISTENER
 Alias                     LISTENER
 Version                   TNSLSNR for Linux: Version 18.0.0.0.0 - Production
 Start Date                01-FEB-2021 11:01:04
 Uptime                    0 days 0 hr. 0 min. 58 sec
 Trace Level               off
 Security                  ON: Local OS Authentication
 SNMP                      OFF
 Default Service           XE
 Listener Parameter File   /opt/oracle/product/18c/dbhomeXE/network/admin/listener.ora
 Listener Log File         /opt/oracle/diag/tnslsnr/localhost/listener/alert/log.xml
 Listening Endpoints Summary…
   (DESCRIPTION=(ADDRESS=(PROTOCOL=tcp)(HOST=localhost)(PORT=1521)))
   (DESCRIPTION=(ADDRESS=(PROTOCOL=ipc)(KEY=EXTPROC1521)))
   (DESCRIPTION=(ADDRESS=(PROTOCOL=tcps)(HOST=localhost)(PORT=5500))(Security=(my_wallet_directory=/opt/oracle/product/18c/dbhomeXE/admin/XE/xdb_wallet))(Presentation=HTTP)(Session=RAW))
 Services Summary…
 Service "XE" has 1 instance(s).
   Instance "XE", status READY, has 1 handler(s) for this service…
 Service "XEXDB" has 1 instance(s).
   Instance "XE", status READY, has 1 handler(s) for this service…
 Service "ba3db2e4206012dde055000000000001" has 1 instance(s).
   Instance "XE", status READY, has 1 handler(s) for this service…
 Service "xepdb1" has 1 instance(s).
   Instance "XE", status READY, has 1 handler(s) for this service…
 The command completed successfully
listener.ora
[root@localhost admin]# cat listener.ora
 listener.ora Network Configuration File: /opt/oracle/product/18c/dbhomeXE/network/admin/listener.ora
 Generated by Oracle configuration tools.
 DEFAULT_SERVICE_LISTENER = XE
 LISTENER =
   (DESCRIPTION_LIST =
     (DESCRIPTION =
       (ADDRESS = (PROTOCOL = TCP)(HOST = localhost)(PORT = 1521))
       (ADDRESS = (PROTOCOL = IPC)(KEY = EXTPROC1521))
     )
   )
tnsnames.ora
[root@localhost admin]# cat tnsnames.ora
 tnsnames.ora Network Configuration File: /opt/oracle/product/18c/dbhomeXE/network/admin/tnsnames.ora
 Generated by Oracle configuration tools.
 XE =
   (DESCRIPTION =
     (ADDRESS = (PROTOCOL = TCP)(HOST = localhost)(PORT = 1521))
     (CONNECT_DATA =
       (SERVER = DEDICATED)
       (SERVICE_NAME = XE)
     )
   )
 LISTENER_XE =
   (ADDRESS = (PROTOCOL = TCP)(HOST = localhost)(PORT = 1521))
포트번호가 바뀐경우가 있었는데, 그럴경우에 1521로 변경해서 저장하고 재시작 해준다
데이터베이스 접속확인
# sqlplus
SQL*Plus: Release 18.0.0.0.0 - Production on Mon Feb 1 12:59:38 2021
Version 18.4.0.0.0
Copyright (c) 1982, 2018, Oracle.  All rights reserved.
Enter user-name: system
Enter password:
Last Successful login time: Mon Feb 01 2021 11:23:03 +09:00
Connected to:
Oracle Database 18c Express Edition Release 18.0.0.0.0 - Production
Version 18.4.0.0.0
SQL>
데이터베이스 Start/Stop
# /etc/init.d/oracle-xe-18c start
# /etc/init.d/oracle-xe-18c stop